Looking for the official recipe for the Bordelais canelé? You’ve come to the right place! Here’s the authentic formula that will guide you in creating this delightful pastry with subtle hints of rum and vanilla in the comfort of your home. Whether in Bordeaux or anywhere else, it’s best enjoyed with a cup of coffee, be it for breakfast, afternoon tea, dessert—virtually any time of the day!
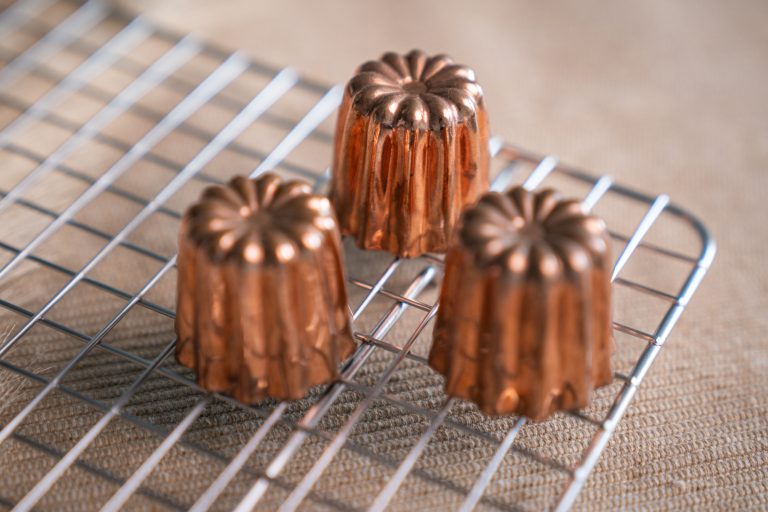
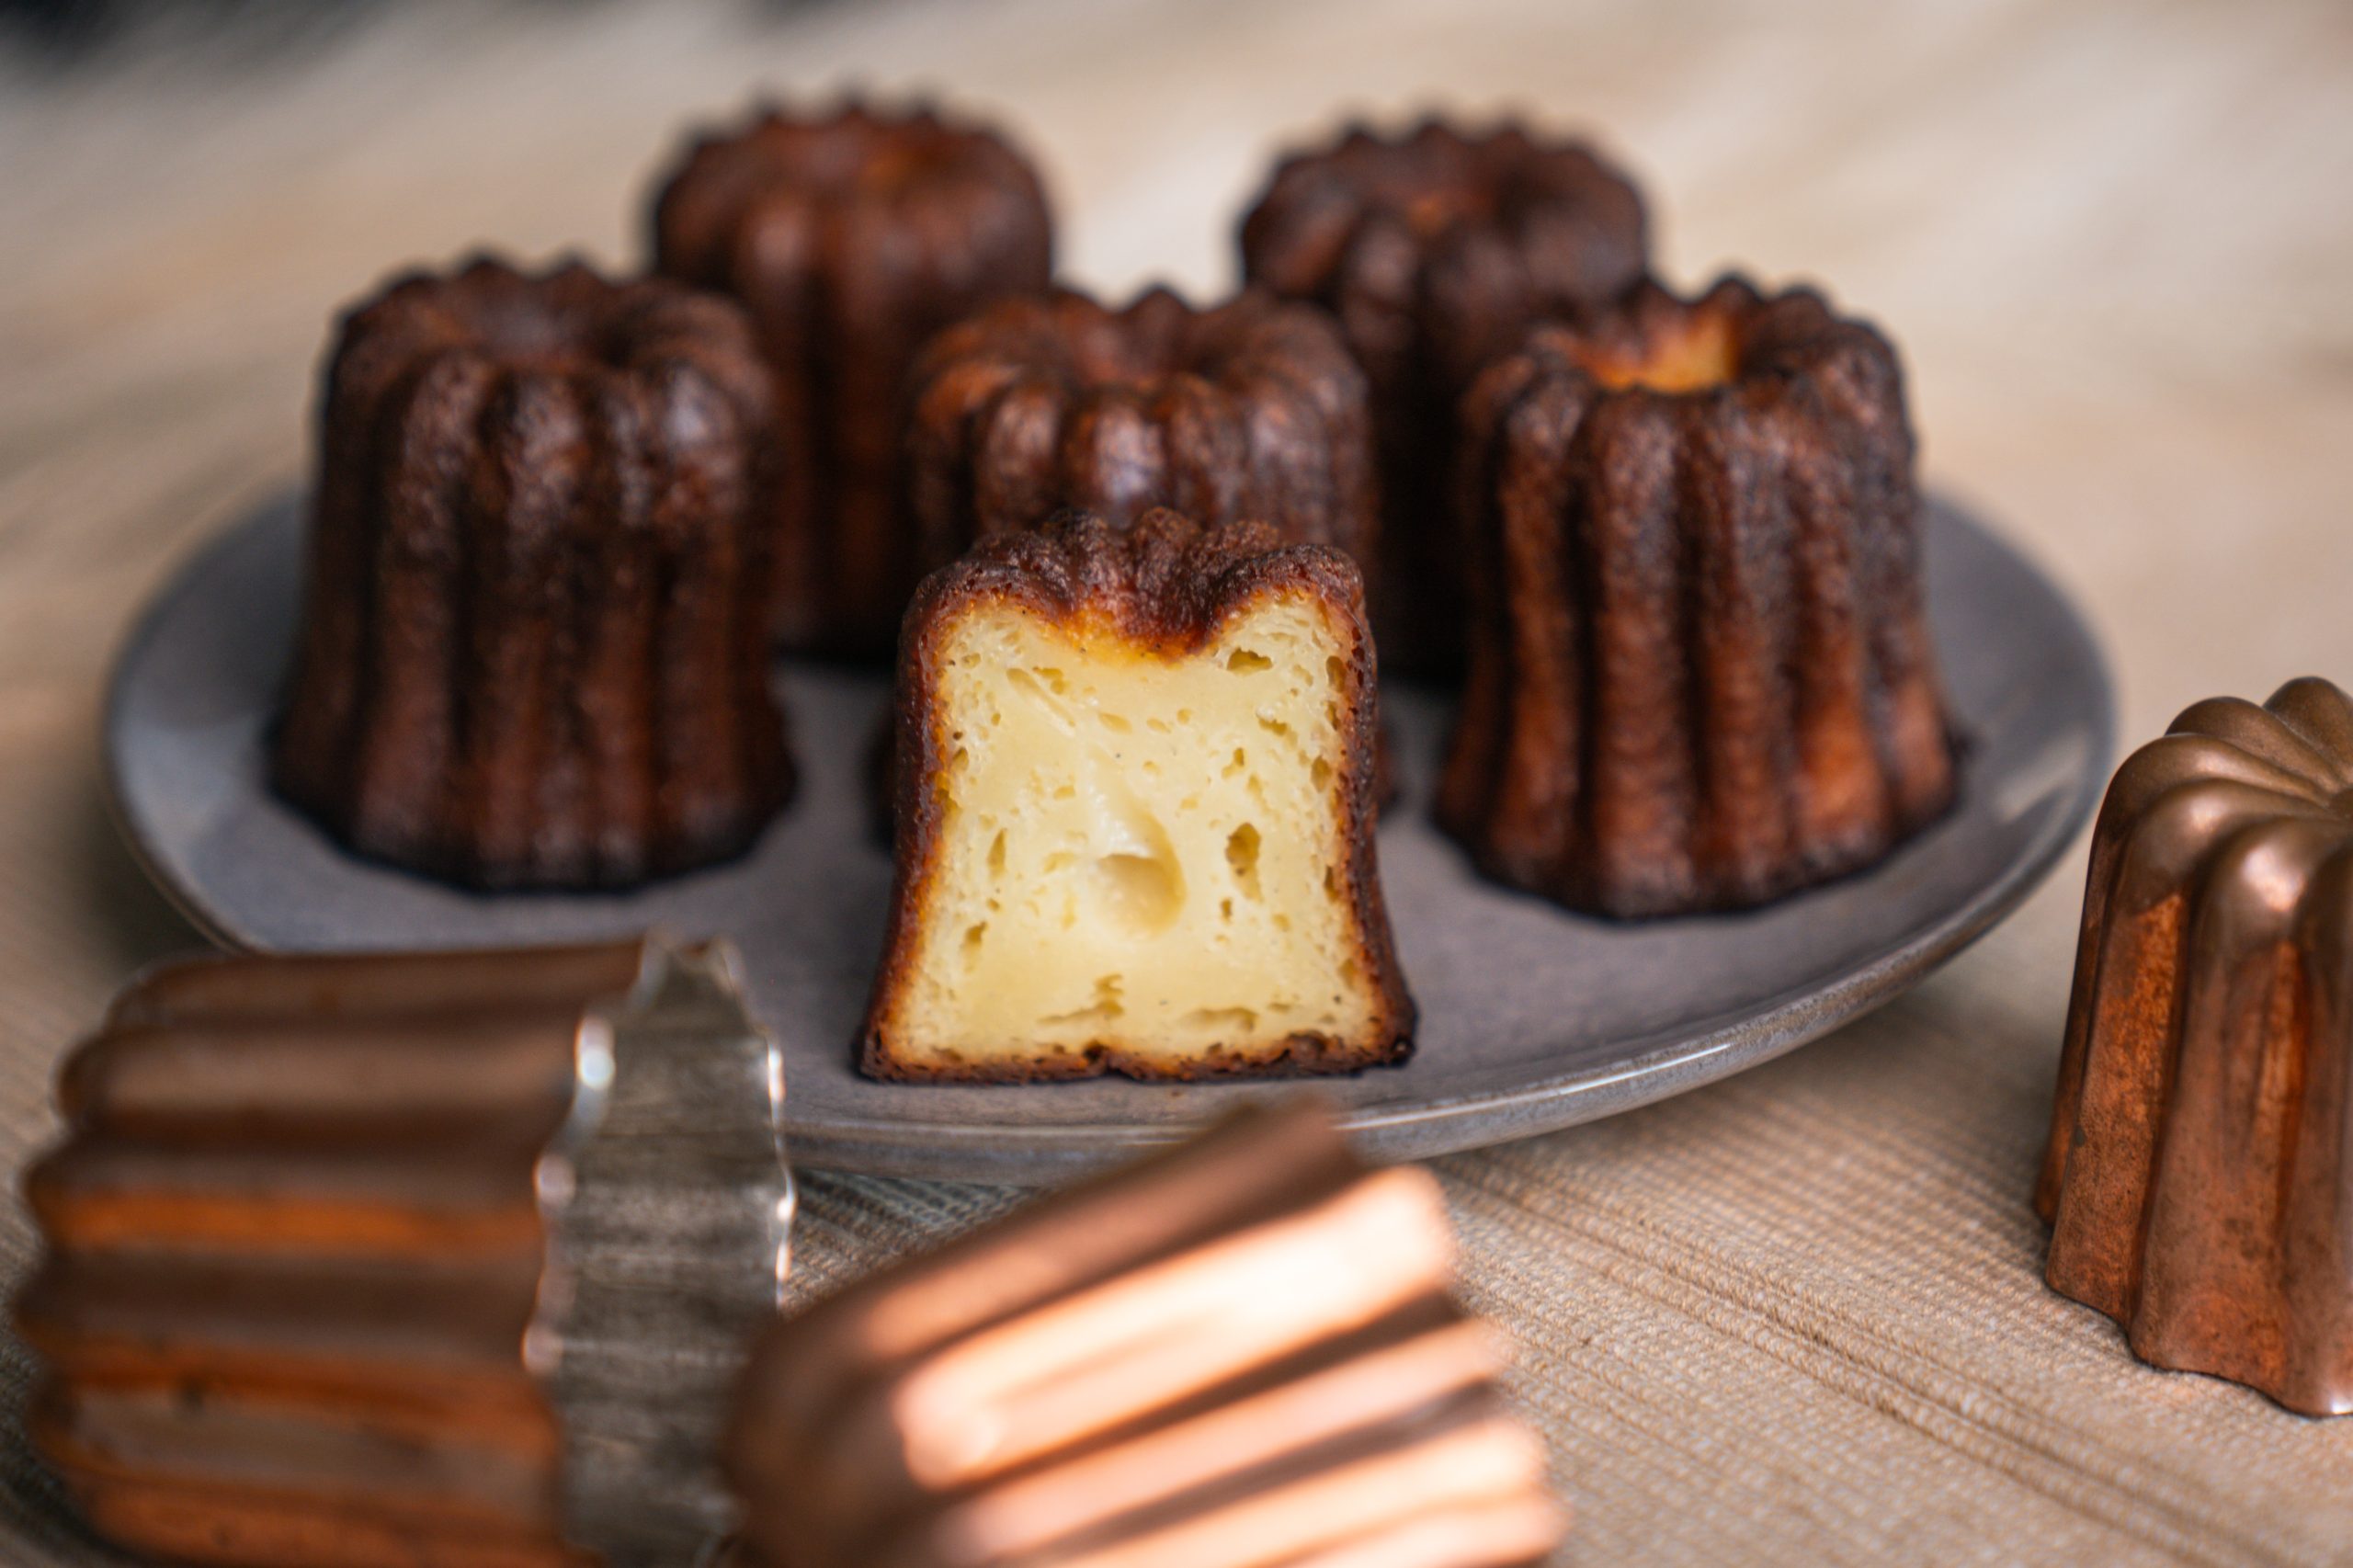
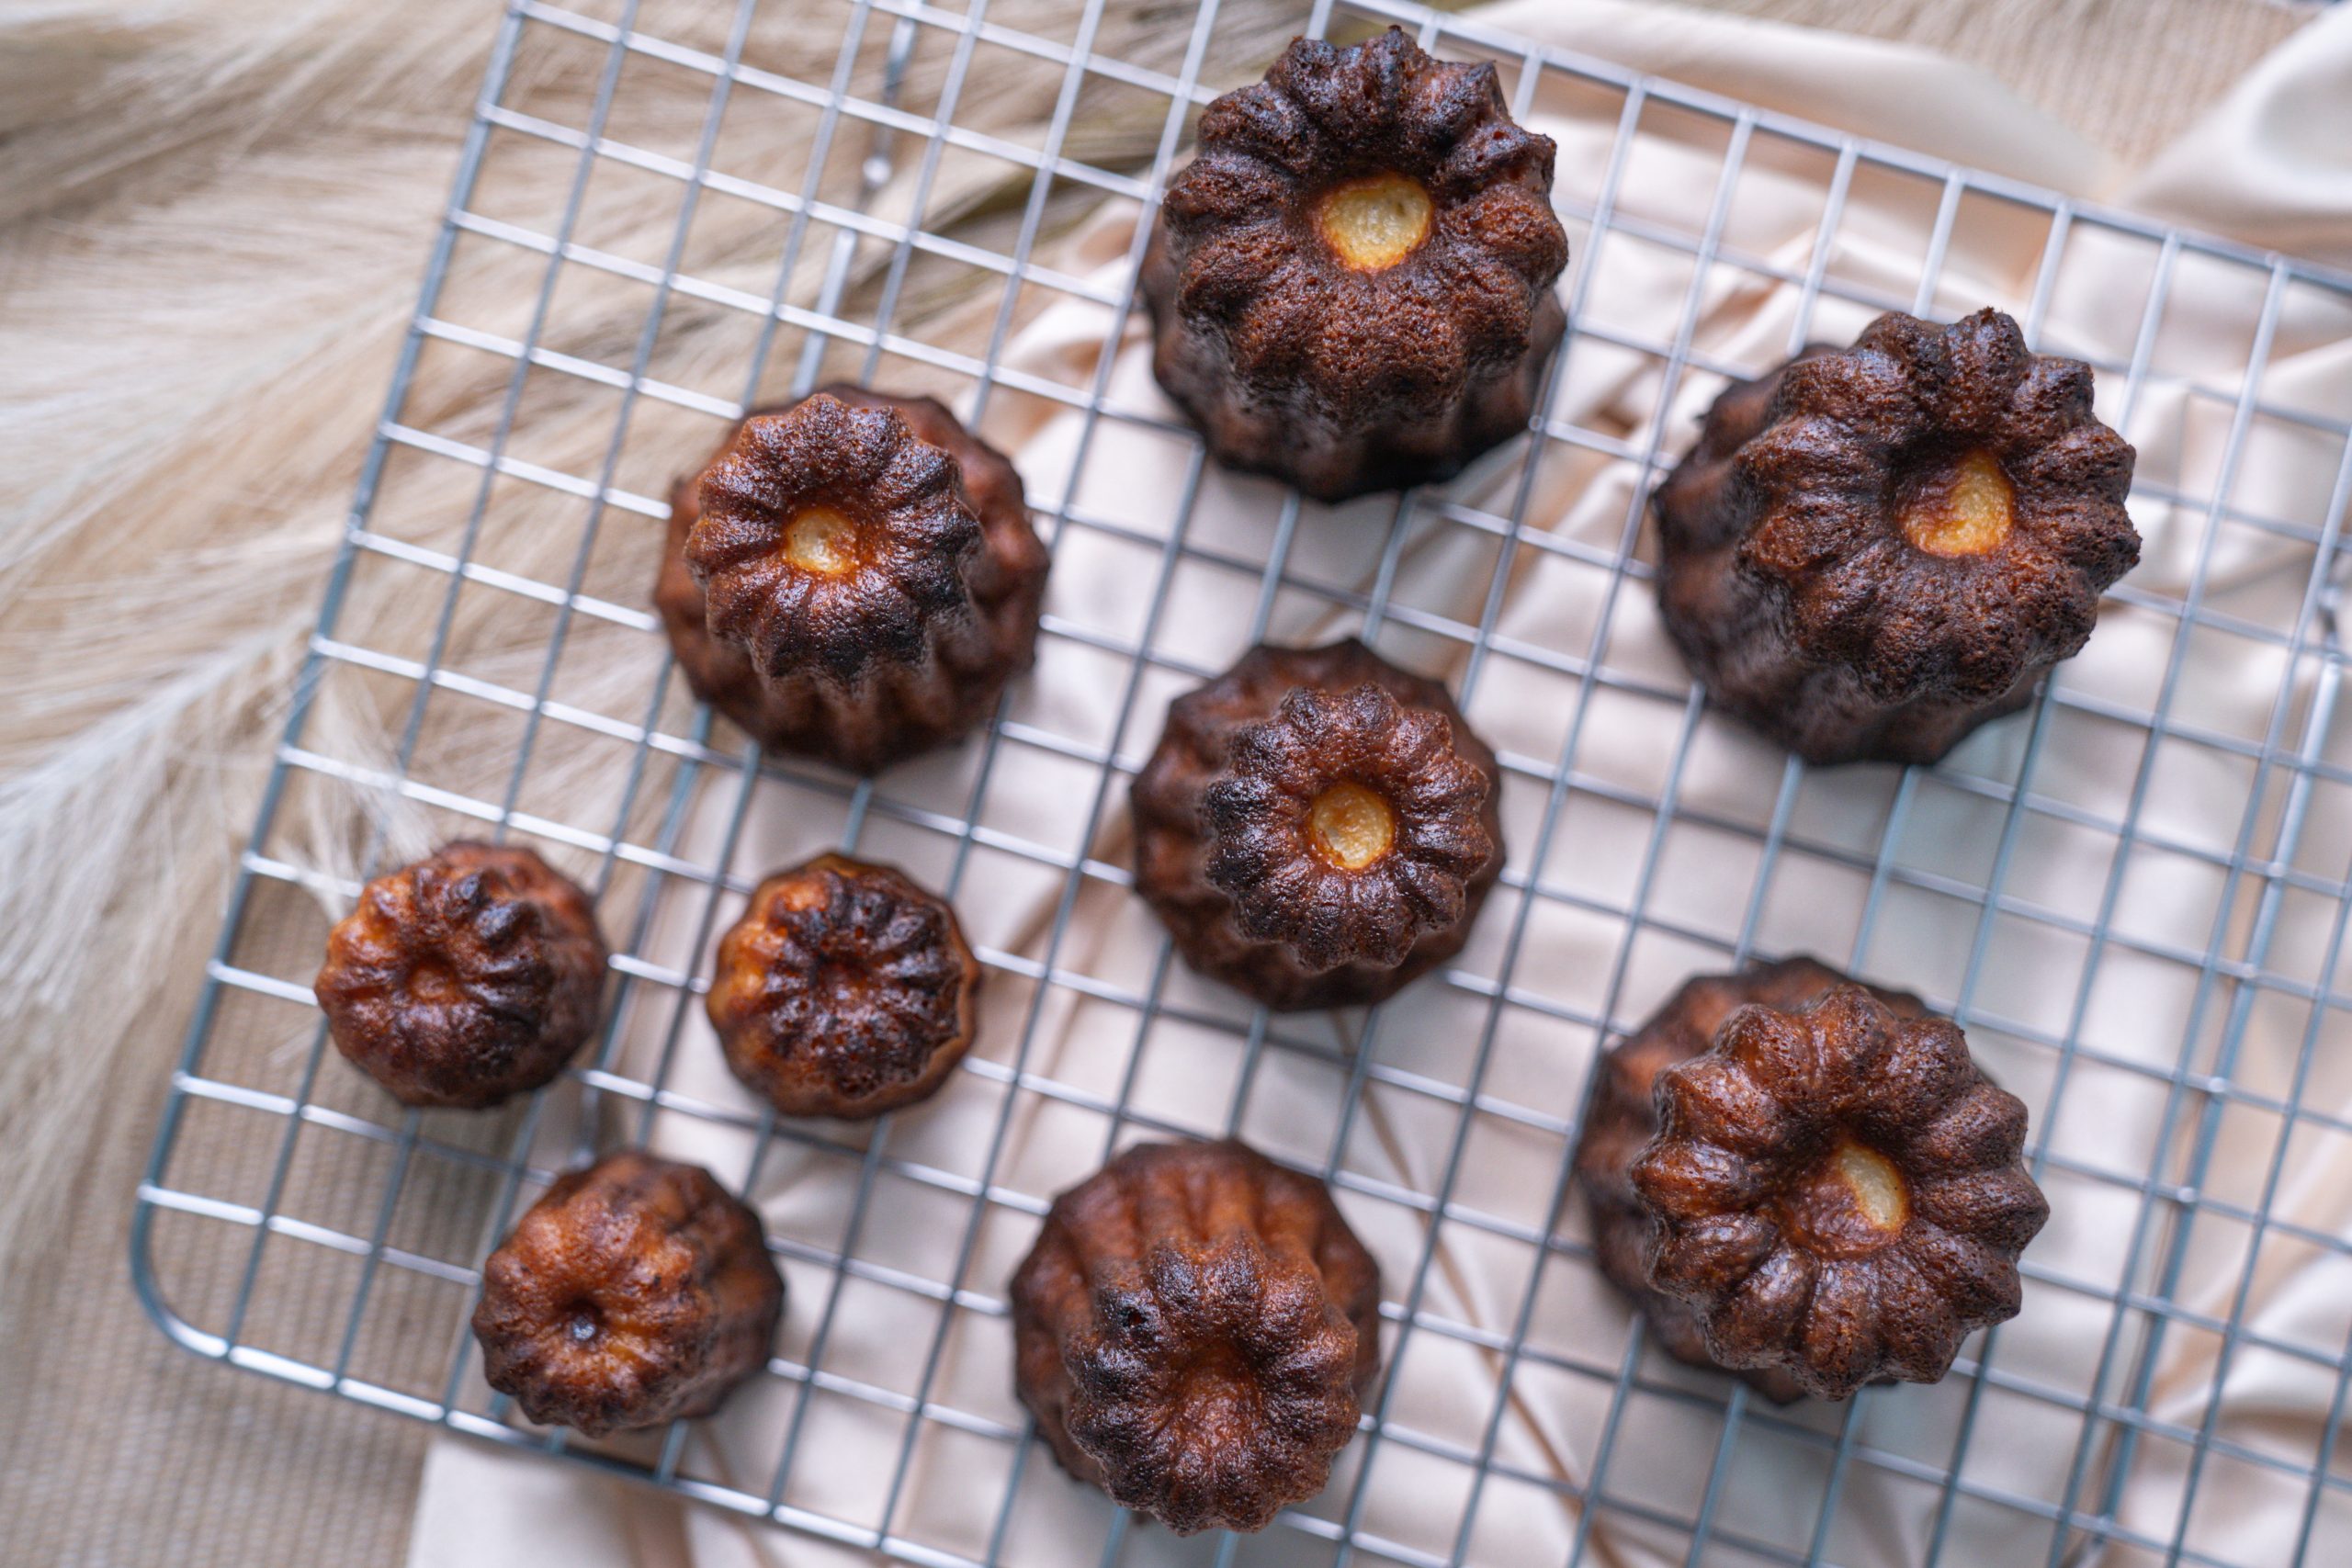
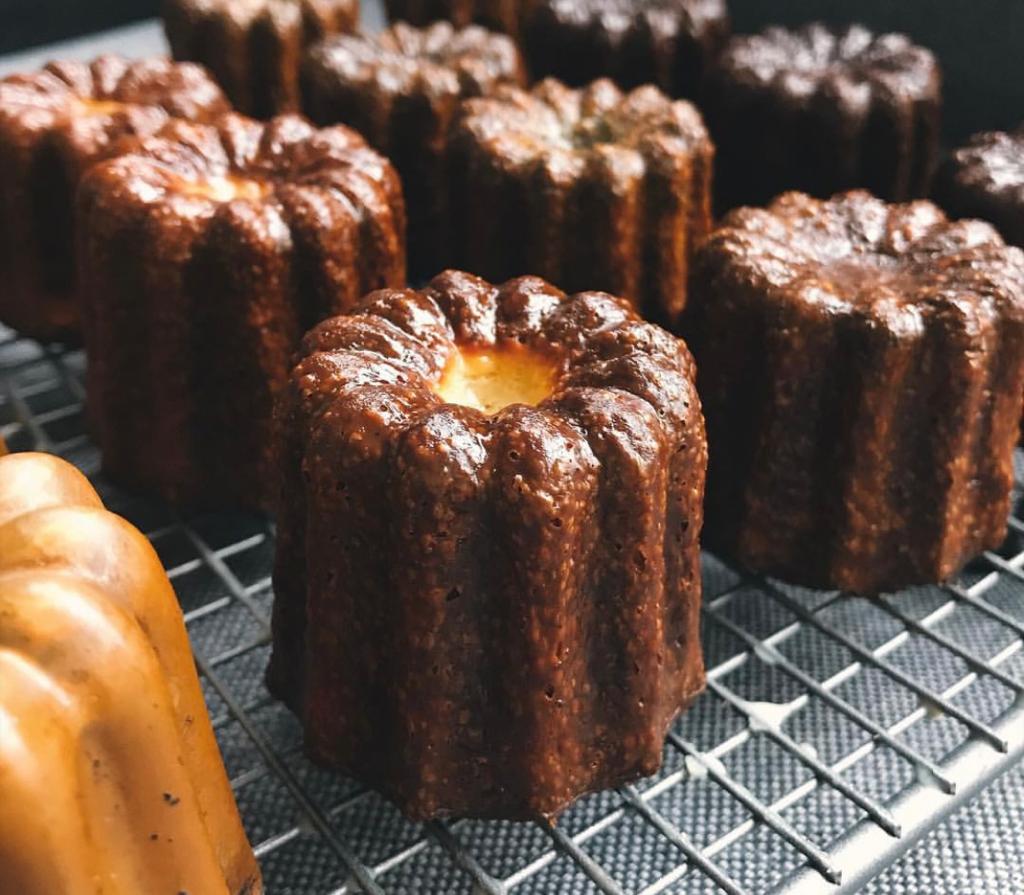
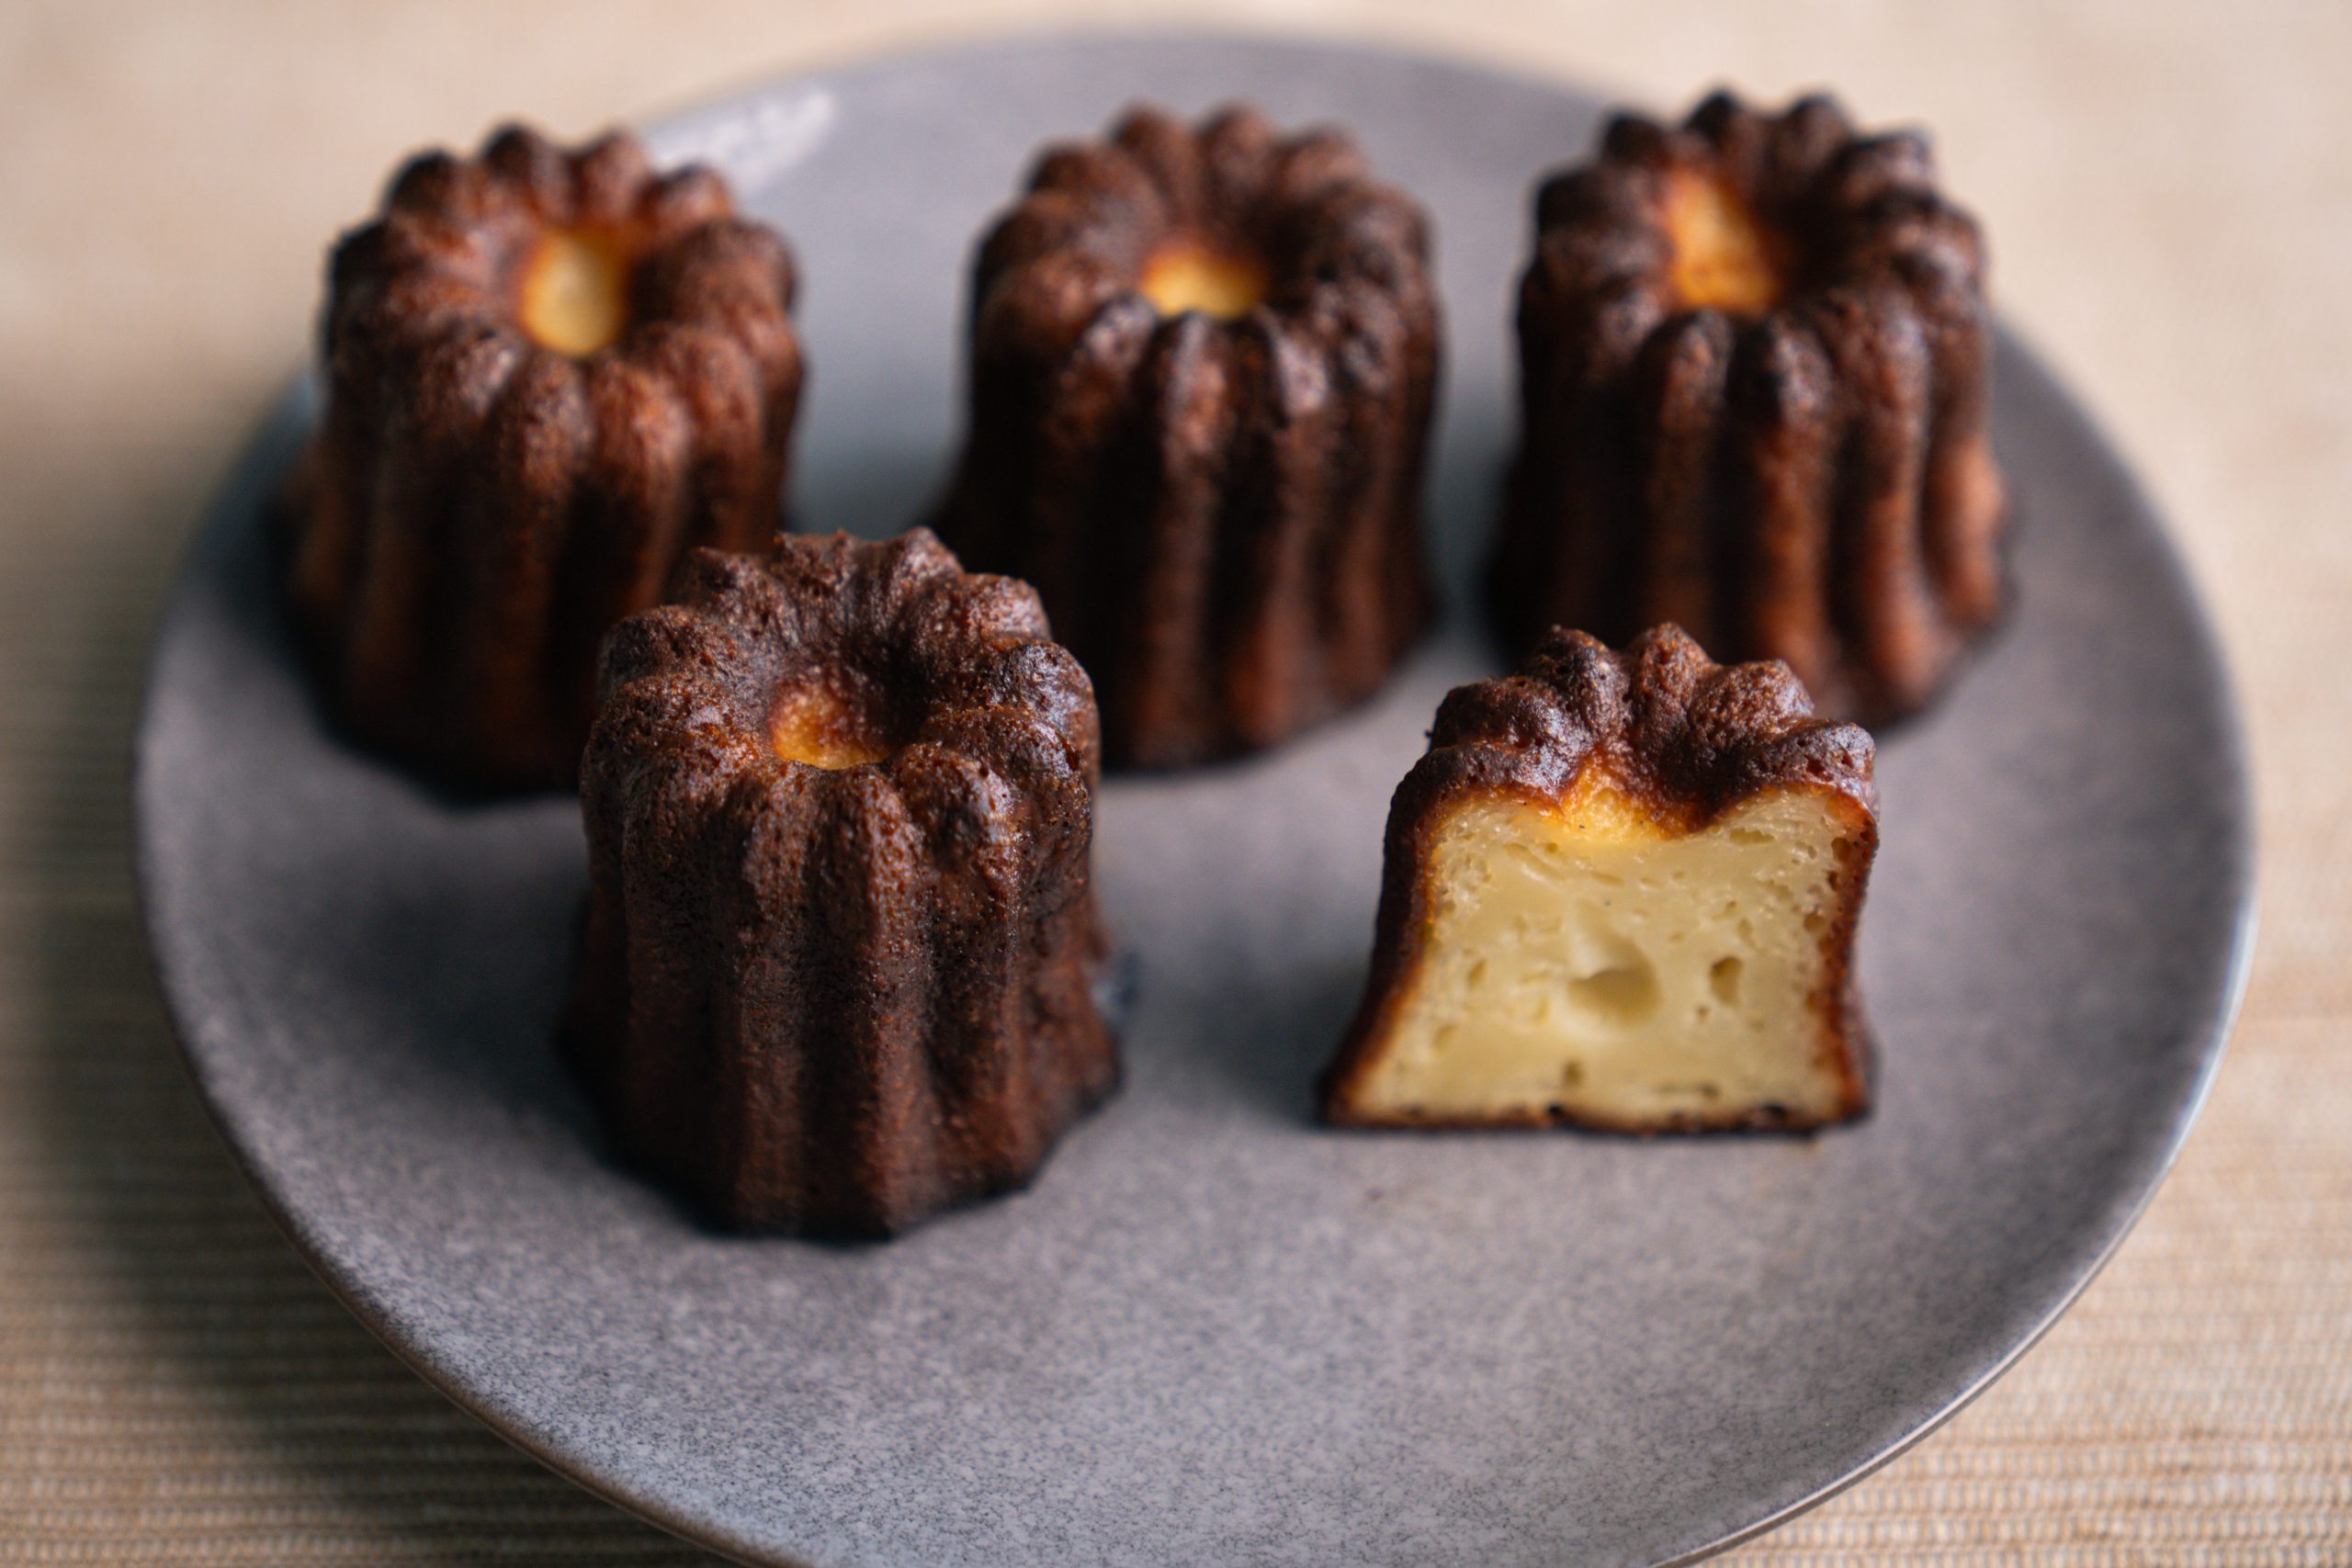
This recipe for traditional canelés relies on simple ingredients: milk, eggs, flour, butter, sugar, rum, and liquid vanilla extract. It remains true to the history of the canelé, a delightful treat born on the docks of Bordeaux in the 16th century. The recipe is versatile, working seamlessly with all three types of molds, from the smallest to the largest: Mini, Medium, or Large Molds! Beyond size, it’s a matter of taste: the ratio between the caramelized crust and the tender core varies from one mold size to another.
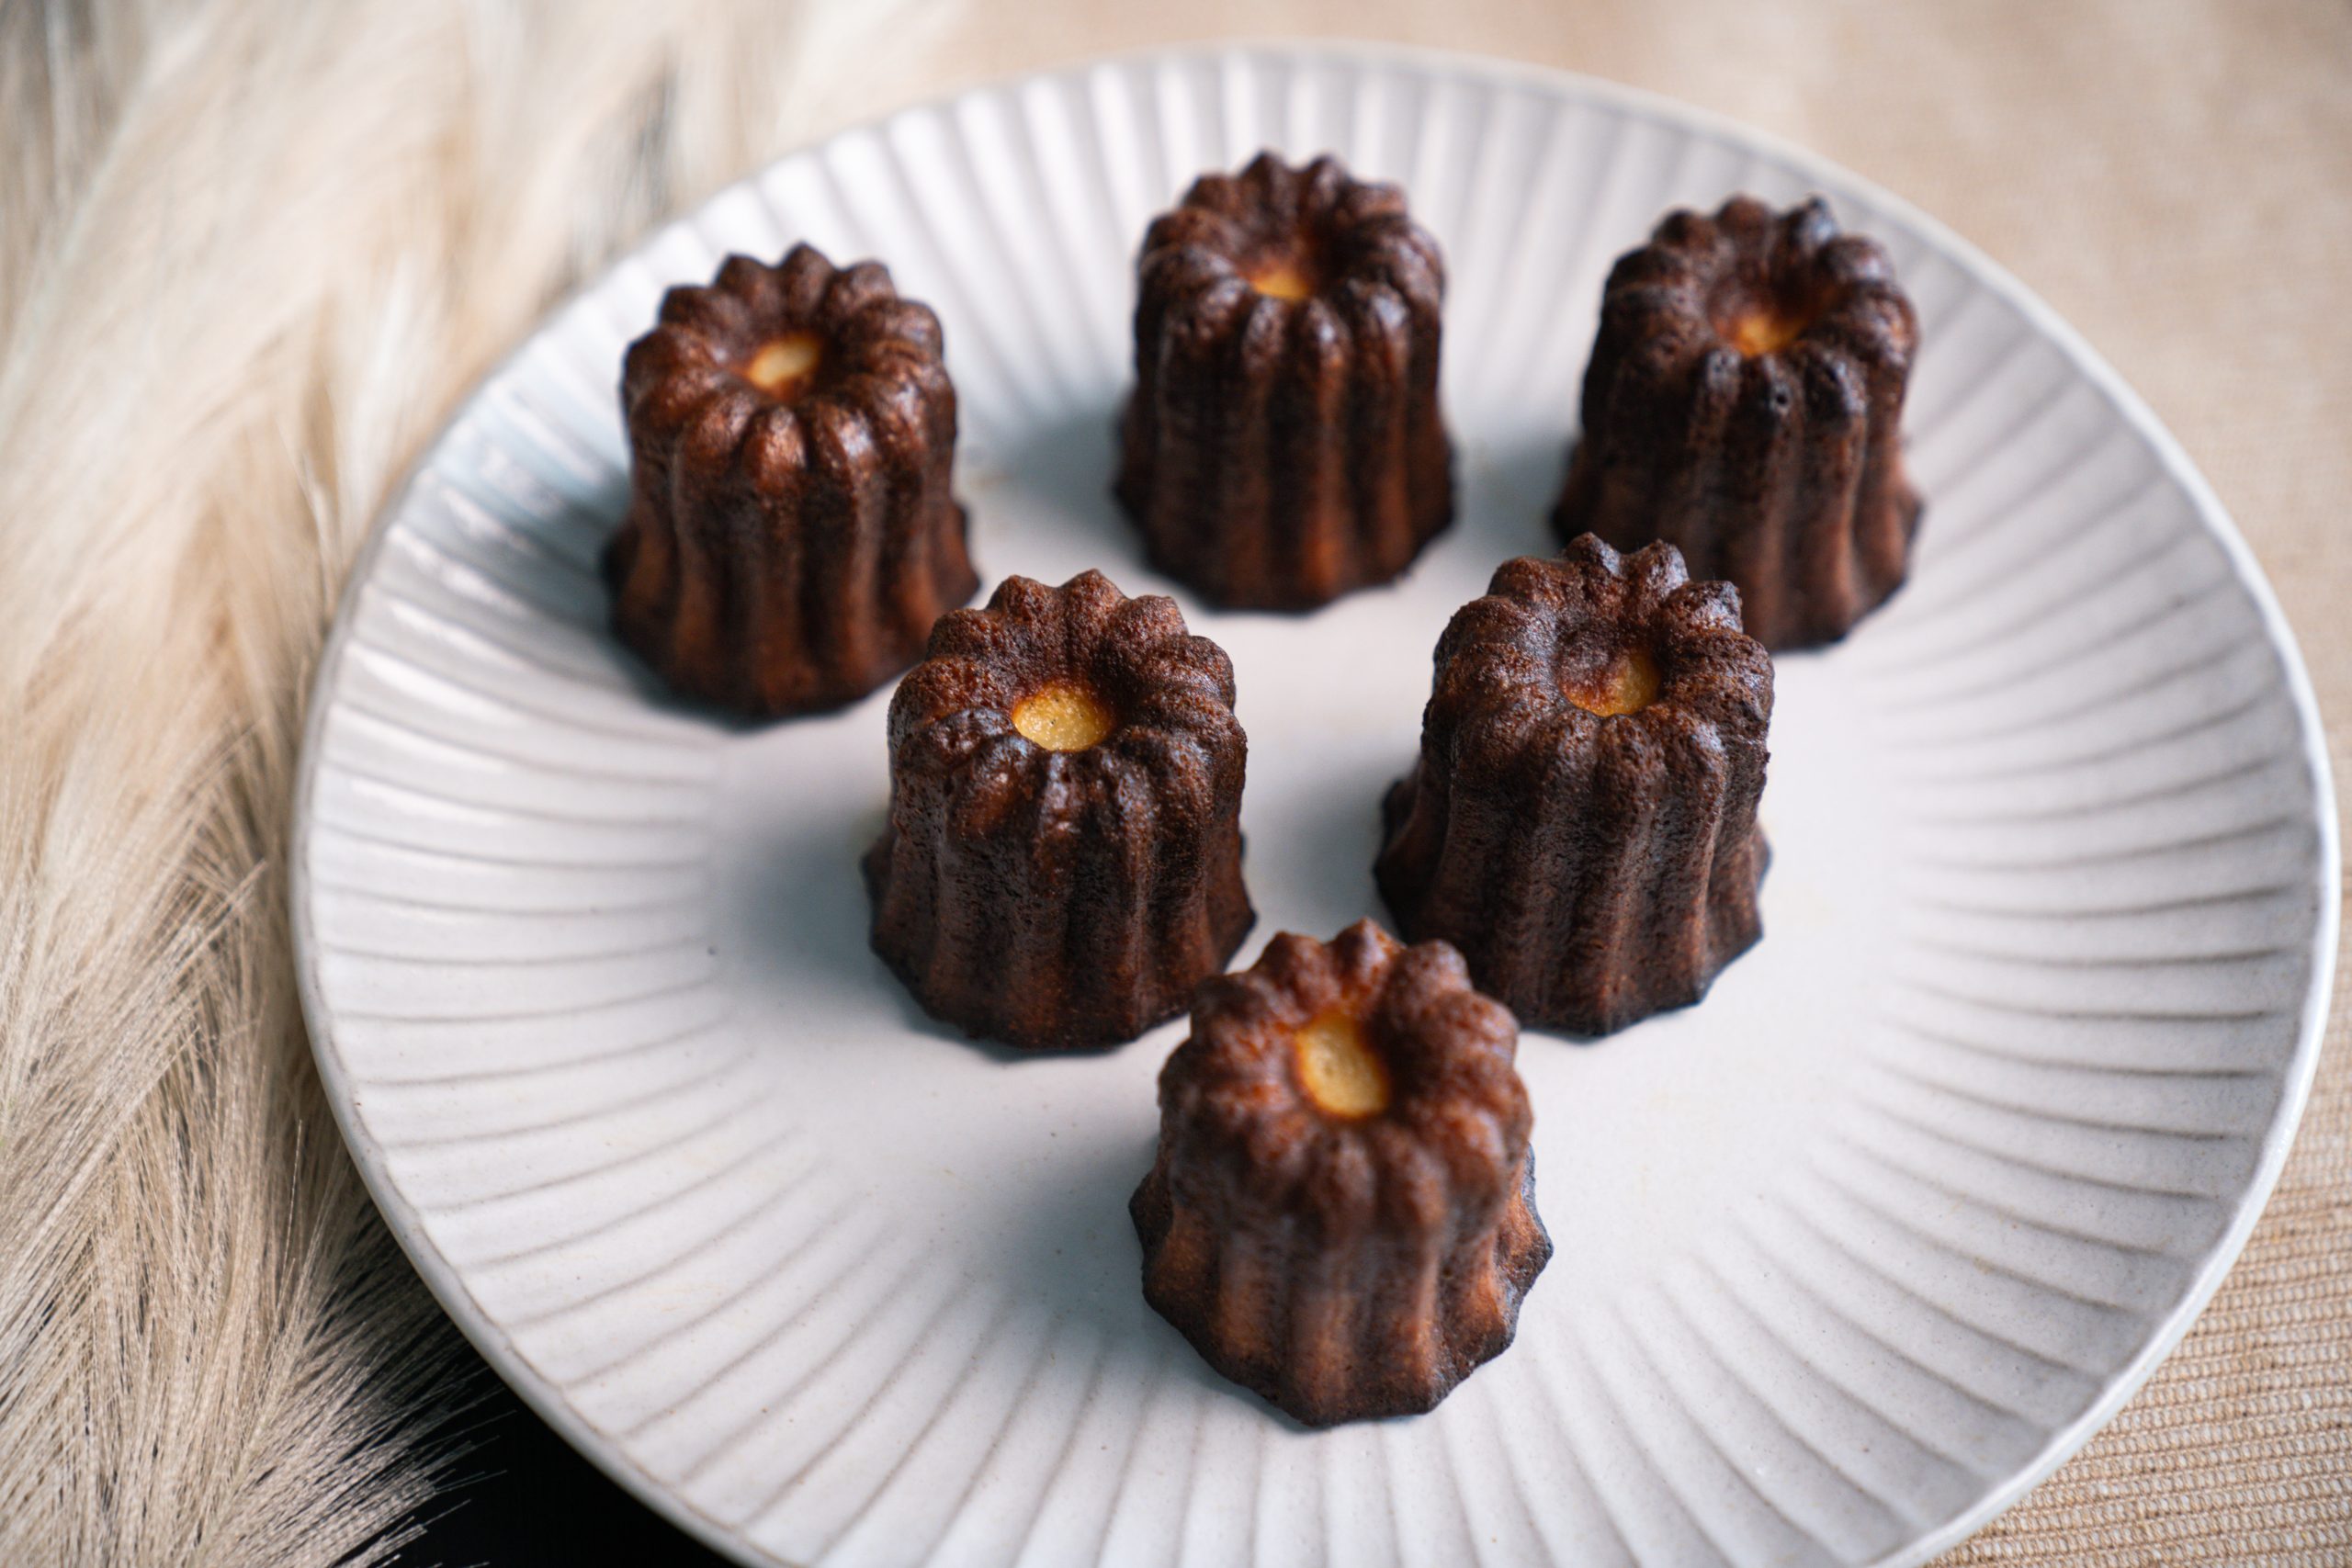
The following recipe should cater for enough batter to bake 36 mini, 24 medium or 12 large canele.
Ingredients |
|---|
| 500ml whole milk |
| 2 tablespoons rum |
| 1 vanilla bean, split and seeds scraped |
| 2 large eggs |
| 2 large egg yolks |
| 200g granulated sugar |
| 100g all-purpose flour |
| 50g unsalted butter, melted and cooled |


Looks like you haven't made a choice yet.


